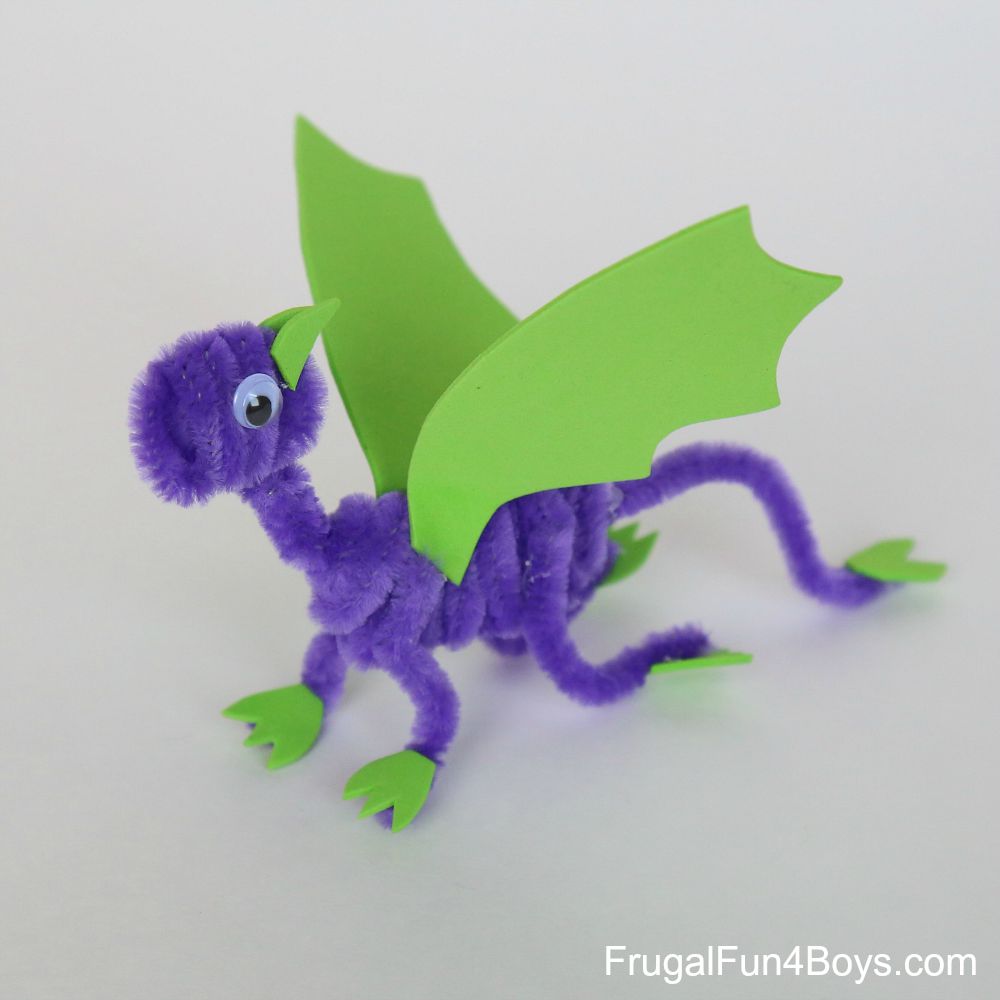
Here is a really cute craft for today: Pipe Cleaner Dragons! I would make dozens of these and suspend them from my bedroom ceiling just to tease the pooches, I jest, because I think they are that cool!
The link with detailed instructions: http://frugalfun4boys.com/2015/08/25/pipe-cleaner-dragons/. Caution: this craft does call for hot glue guns and scissors, please be careful with these around small children.
Crafts for kids and their grown-ups from the Rochester Public Library Children's Room
Saturday, April 30, 2016
Friday, April 22, 2016
Chalkboard Paint!
Anytime you get to make your own crafts to play with is always a good time. You can either make your own colorful chalkboard paint, or you can pick-up a small can of it from the hardware store for under $5.
Here is the link with detailed instructions: http://www.abeautifulmess.com/2012/02/how-to-mix-chalkboard-paint-in-any-color.html#. The text formatting is a little bit off, but there are plenty of photos along the way for you to get the idea of how to do this craft. Enjoy!
Here is the link with detailed instructions: http://www.abeautifulmess.com/2012/02/how-to-mix-chalkboard-paint-in-any-color.html#. The text formatting is a little bit off, but there are plenty of photos along the way for you to get the idea of how to do this craft. Enjoy!
Labels:
acrylic paint,
board,
bowl,
cardboard,
chalkboard paint,
creativity.,
spoons,
unsanded grout,
water
Saturday, April 16, 2016
Magazine Drawing Craft!
Let your child's imagination go on an adventure with this craft. It's cost effective, and you can do it almost anywhere.
Have your child cut out and gather images or pictures from their favorite magazines and paste them onto blank construction paper. Then they fill the rest of the page with images or scenery they make-up. Here is the link with detailed instructions: http://artfulparent.com/2015/01/drawing-prompts-for-kids-with-magazine-pictures.html. Enjoy!
Have your child cut out and gather images or pictures from their favorite magazines and paste them onto blank construction paper. Then they fill the rest of the page with images or scenery they make-up. Here is the link with detailed instructions: http://artfulparent.com/2015/01/drawing-prompts-for-kids-with-magazine-pictures.html. Enjoy!
Labels:
colored pencil,
construction paper,
crayons,
fun.,
Glossy Magazine Pages,
glue,
markers,
scissors
Friday, April 8, 2016
Woven Butterflies!
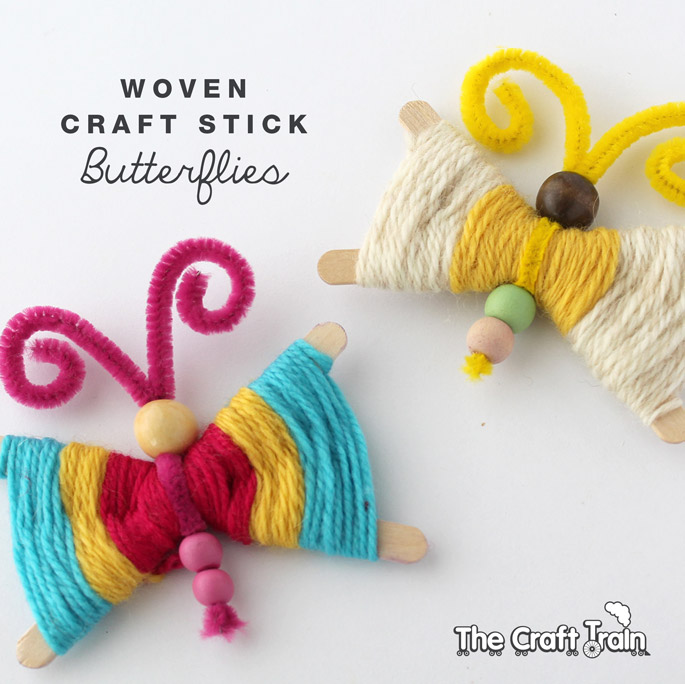
Today's post is a pretty easy weaving craft that the whole family can do. You only need five things, and the clean up is hassle free!
Here is the link with full instructions: http://www.thecrafttrain.com/1/post/2015/11/woven-craft-stick-butterflies.html.
Enjoy!
Here is the link with full instructions: http://www.thecrafttrain.com/1/post/2015/11/woven-craft-stick-butterflies.html.
Enjoy!
Labels:
beads,
colorful,
craft sticks,
Pipe Cleaners,
scissors,
yarn
Saturday, April 2, 2016
Styrofoam Tray Printmaking!
We did Styrofoam tray Printmaking for our Make-It & Take-It craft today. This was a pretty easy and fun craft for all ages, younger children will need help with their drawings.
Here is a brief description of how to do it:
1. Grab a spare (clean) Styrofoam tray and cut out a rectangle.
2. Using non-brush-end of a smaller paintbrush (or dull pencil) draw your picture on the tray.
HINT: when writing names or words WRITE THEM BACKWARDS, because the child's name will be backwards if you write it the right way (mirror effect).
3. When your drawing is done, roll a brayer in paint so that it is completely covered. Then roll the brayer on the tray, completely covering that too.
4. Take the paint-covered-tray and put it face down on construction paper. Press or rub it so that way the paint spreads evenly.
5. Remove the tray and voilà! You have just made your first Printmaking painting!
So much fun, and you can do it repeatedly. Also, use primary colors (red, yellow, blue) so you can mix other colors too or just overlap the colors! Oh, and do not forget to lay down newspaper for an easy clean up. Enjoy!
Subscribe to:
Posts (Atom)


