Friday, October 9, 2015

Toilet Paper Roll Owls!

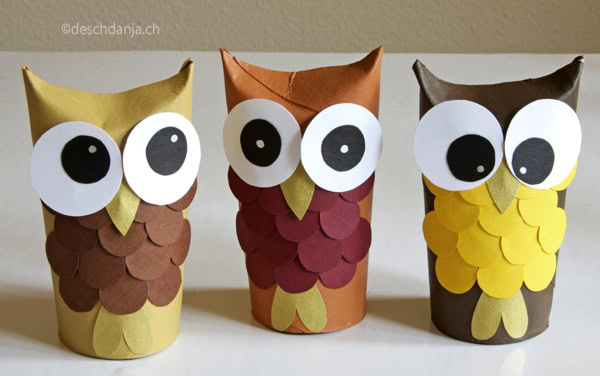
Want to make a cute and simple craft with the kids? Try making toilet paper roll owls!

After painting the roll whatever color you would like it to be (you don't have to pain it at all), the construction paper pieces are glued on from the bottom up, for each owl you will need:
  1. 1 heart shaped piece for the feet
  2. 14 little circles for the tummy (see photograph for how the maker laid theirs down)
  3. 1 triangle for the beak (fold in the middle about half way)
  4. 2 big white circles for eyeballs
  5. 2 smaller black circles for the eyes.
  6. Lastly, to make it seem like your owl is looking at something, you may poke a hole in the black circles or finish them off with a metallic silver sharpie. A regular silver sharpie might not show up as well.
Here is the link with photo instructions http://www.handmadekultur.de/projekte/eulen-aus-papierrollen_66189. Yes, it is in German, but I also found this craft on pinterest. Good luck and enjoy!

Saturday, October 3, 2015

Fall Mobile!

Do you want to try create another nature walk craft? This one should not involve any baking unless you plan on drying out your own fruit.

Here is the link for inspiration: https://www.facebook.com/ZartArtPBL?fref=photo. As far as I have researched, they are a business that sells art supplies and provides craft lessons somewhere in Australia. Thankfully, you do not need to make a special trip "down under" to make this!

Enjoy!

Friday, September 25, 2015

Nature Impressions!

It is time to go out for a nature walk, otherwise known as a hike, for some fun craft supplies!

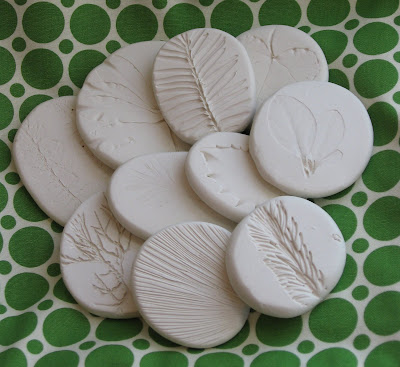
Try making nature impressions using supplies from things found in nature. Polymer clay seems to be a favorite by everyone else who has done this, according to my research. To make the lines pop, you can apply a thin coat of acrylic paint.

Here is the link with detailed instructions: http://myplumpudding.blogspot.com/2008/03/nature-sculpture.html. Have fun and get creative!

Friday, September 18, 2015

Firework Painting!

Want to make something bright and fun with the kids? Why not try creating a firework painting?!

They will get to mix colors, play with straws, and have a blast making fireworks. Here is the link with detailed instructions: http://www.mykidsadventures.com/paint-fireworks/. This is a lengthy process because it involves painting on construction paper. If you want to expedite the process, I guess you could get a package of watercolor paper for a reasonable price and paint your background first, let that dry for a few minutes, and then start painting your fireworks.

If you do try this craft, please share with us how it turned out!

Saturday, September 12, 2015

Tissue Paper Apples!

We made these for our Make-It & Take-It drop-in craft program earlier today. Some people made rainbow apples (we put out blue and pink tissue paper too), which still looked really good!

The craft was inspired by this site: http://www.blissfulroots.com/2013/09/tissue-paper-apple-art-project.html?utm_source=feedburner&utm_medium=email&utm_campaign=Feed:+BlissfulRoots+%28BLISSFUL+ROOTS%29. So all you need is construction paper, tissue paper, and glue sticks. We also used brown crayons to color the stems. I think apart from gluing and piling on tissue paper, shredding and tearing the tissue paper was my favorite part!

Friday, September 4, 2015

Shoebox Foosball!

Why not try to make a miniature Foosball table with the kids that they can play with after?!

This craft should be pretty quick and inexpensive, and here is the link with detailed directions: http://www.u-createcrafts.com/diy-mini-foosball-tableperfect-for-kids/.

Have fun and enjoy!

Wednesday, September 2, 2015

Homemade Bubbles!

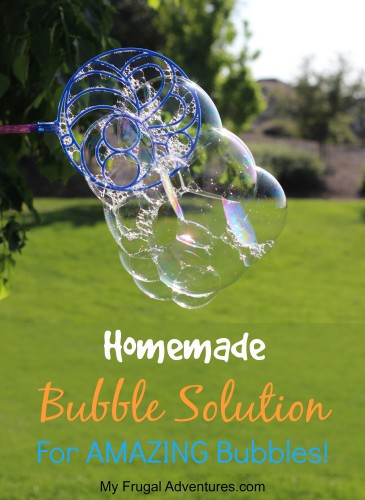
Try making homemade bubbles!

Here is the link with detailed instructions: http://myfrugaladventures.com/2013/06/30-days-to-a-funner-summer-how-to-make-giant-homemade-bubbles/.

I was at a birthday party recently, and I forgot how much fun it is to make and play with bubbles at any age! However, I have noticed that if you are using glycerin in your mixture the results are better if you let the recipe sit overnight (about 8-12 hours).

Enjoy!